机器的配置如下
部署方式一
https://github.com/Comfy-Org/ComfyUI/releases/latest/download/ComfyUI_windows_portable_nvidia.7z 点击这个下载链接进行下载
下载到本地后,双击【run_nvidia_gpu.bat】运行
但是这种方式下载很慢
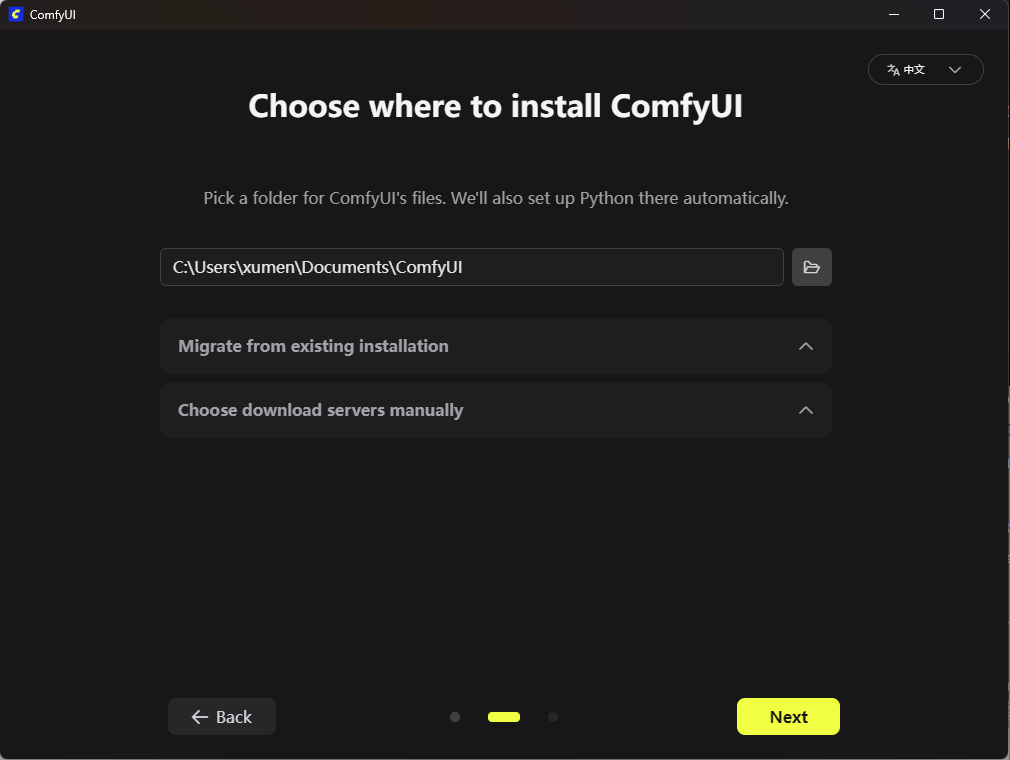
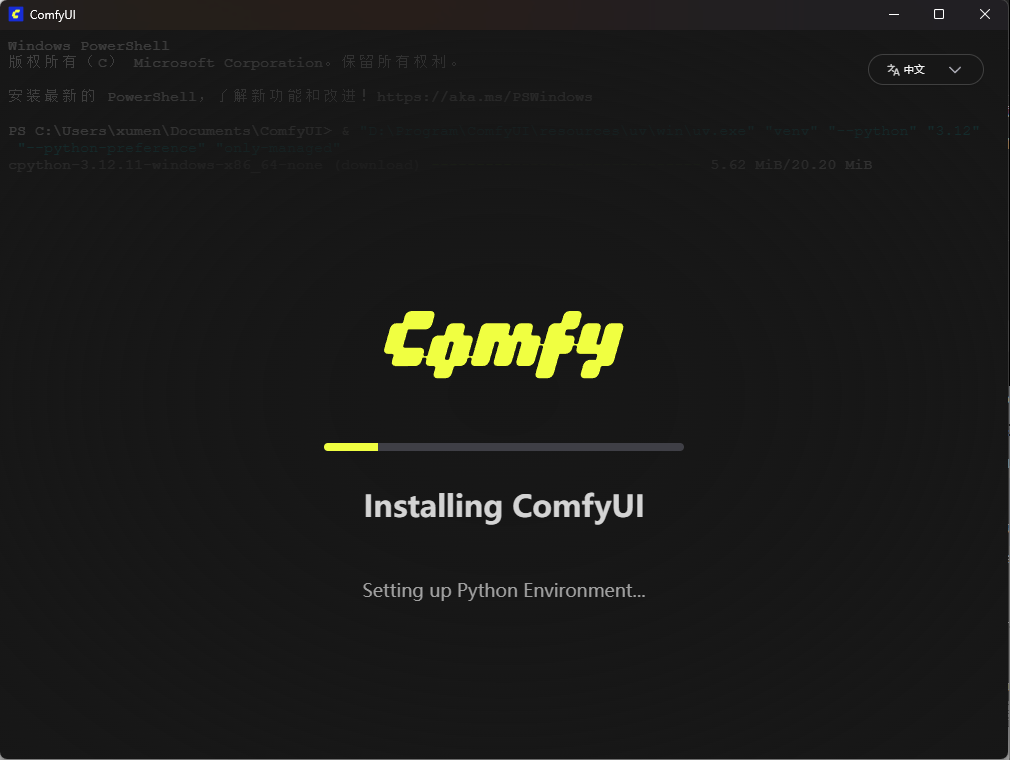
部署方式二
https://www.comfy.org/download下载安装包

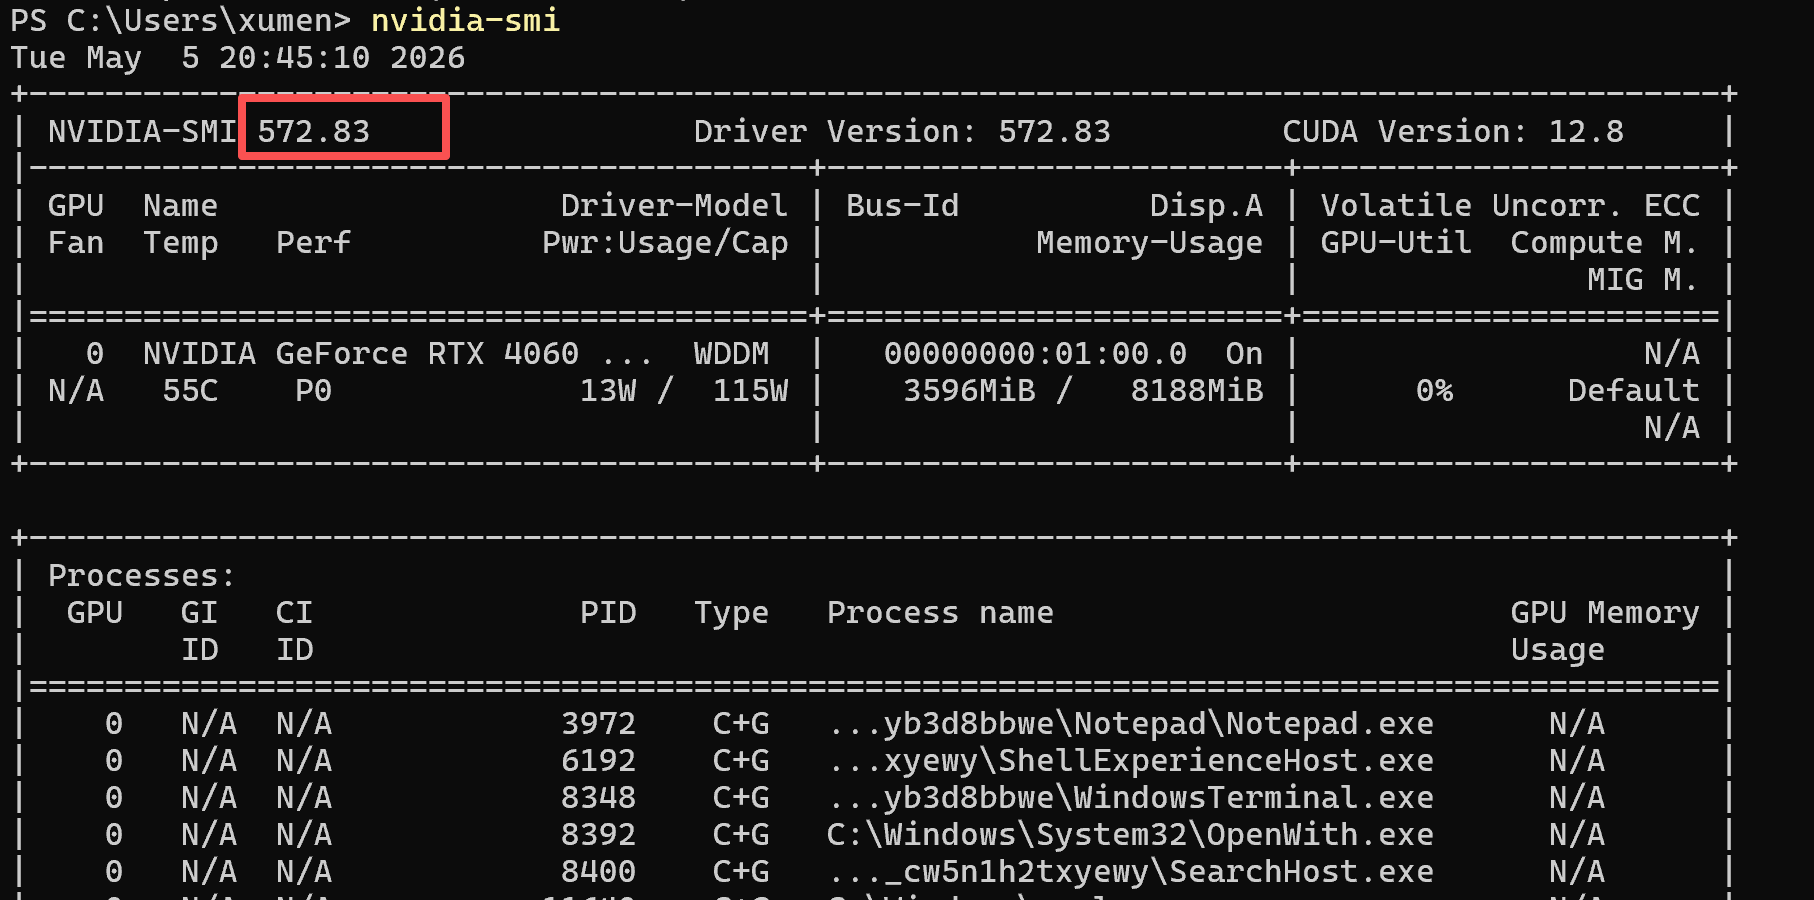
Your NVIDIA driver may be too old for Pytorch2.10.10 + cu130
Detected driver version: 572.83
Recommended minimum: 580
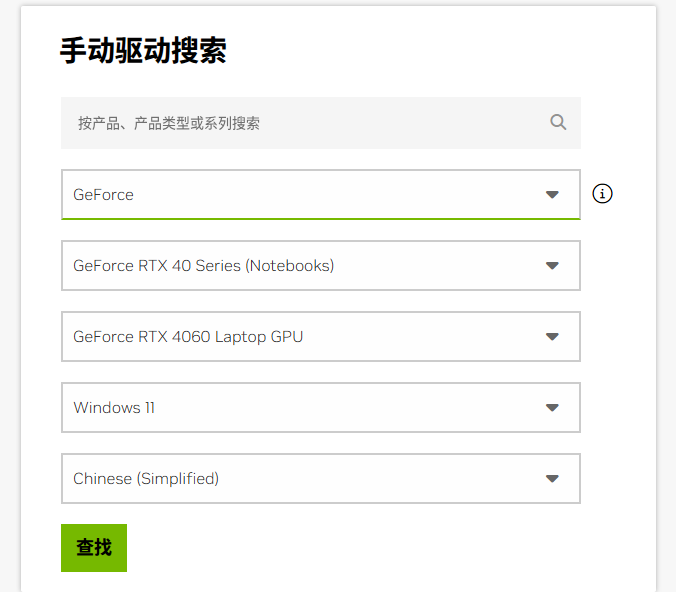
https://www.nvidia.cn/Download/index.aspx?lang=cn,选你的显卡型号、系统(Win10/11 64 位),下载 ≥ 580 的正式版(比如 581.94 或更新)
下载大模型
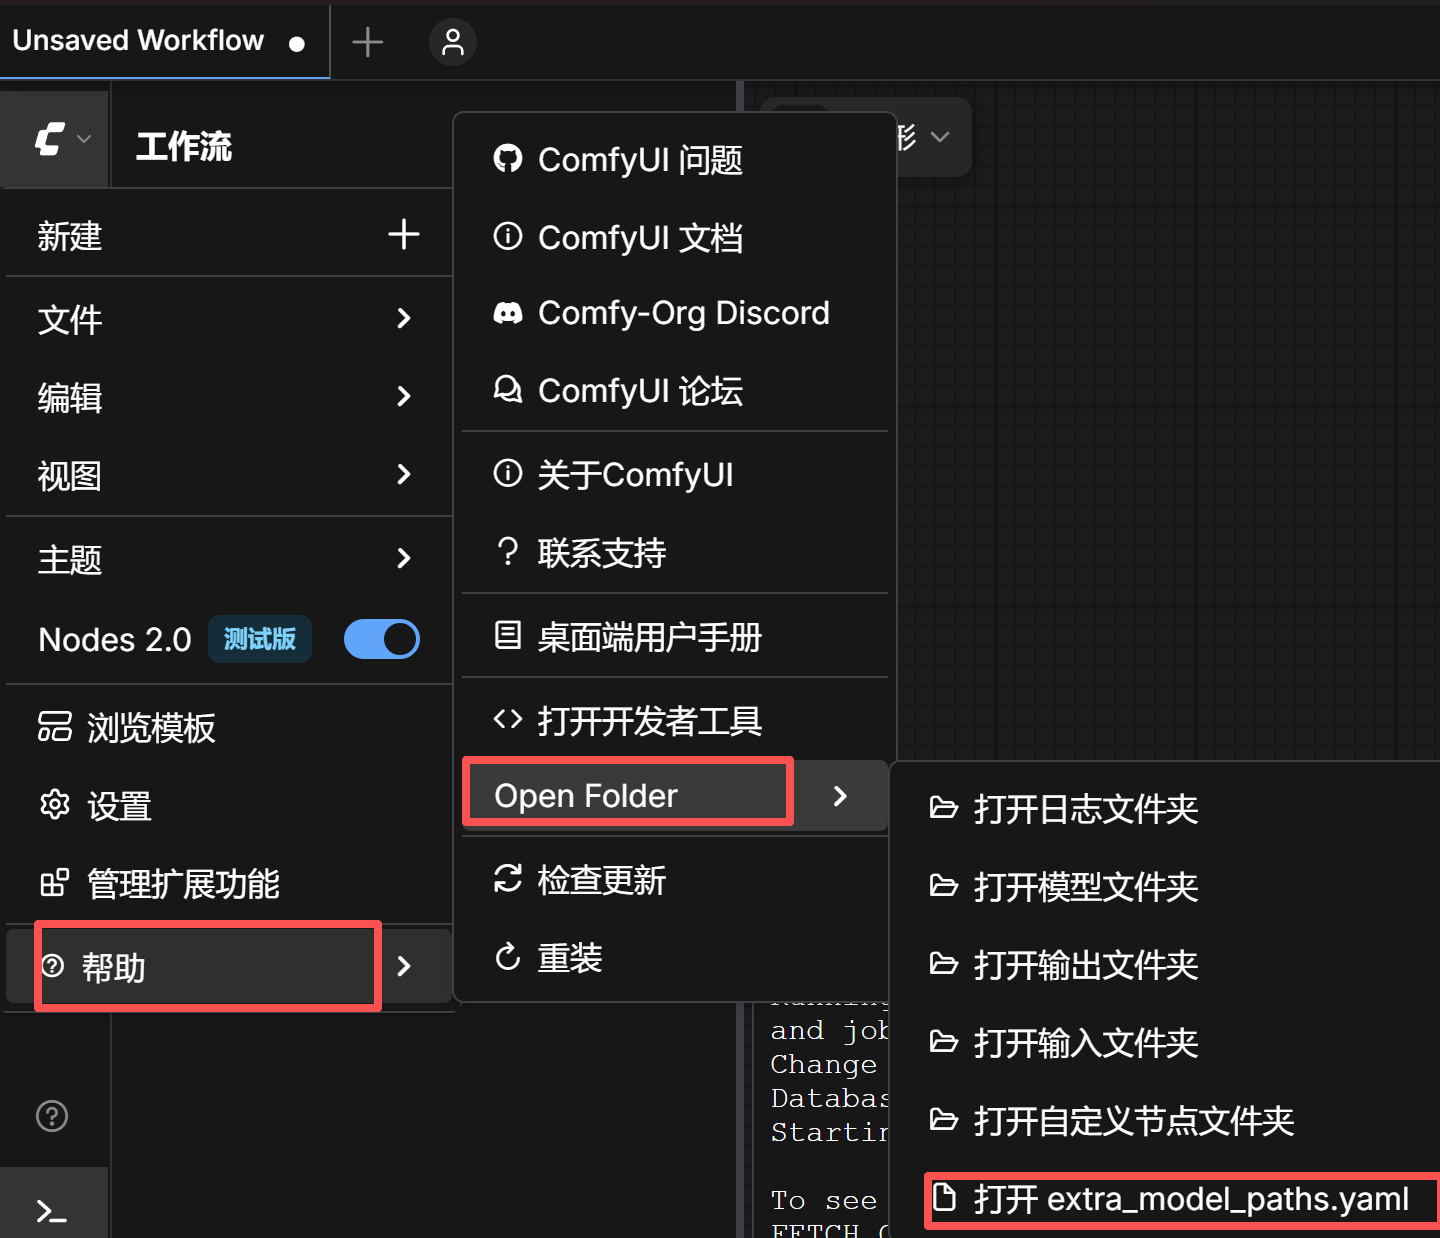
打开extra_mode_paths.yaml
默认内容是
# ComfyUI extra_model_paths.yaml for win32
comfyui_desktop:
  is_default: "true"
  custom_nodes: custom_nodes/
  download_model_base: models
  base_path: C:\Users\xumen\Documents\ComfyUI
desktop_extensions:
  custom_nodes: D:\Program\ComfyUI\resources\ComfyUI\custom_nodes
因为大模型一般很大,默认放在C盘会不太合适,所以可以在这里设置其他的目录作为大模型的目录
# ComfyUI extra_model_paths.yaml for win32
comfyui_desktop:
  is_default: "true"
  custom_nodes: custom_nodes/
  download_model_base: models
  base_path: C:\Users\xumen\Documents\ComfyUI
desktop_extensions:
  custom_nodes: D:\Program\ComfyUI\resources\ComfyUI\custom_nodes
extra_model_paths:
  # 模型类型: 你的模型文件夹路径(冒号后必须有空格)
  checkpoints: G:\AI\ComfyUI\models
  vae: G:\AI\ComfyUI\models
  loras: G:\AI\ComfyUI\models
  controlnet: G:\AI\ComfyUI\models
  embeddings: G:\AI\ComfyUI\models
  unet: G:\AI\ComfyUI\models
  llm: G:\AI\ComfyUI\models
重启ComfyUI 后生效
安装ComfyUI-Manager
cd C:\Users\xumen\Documents\ComfyUI\custom_nodes
git clone https://github.com/ltdrdata/ComfyUI-Manager.git
重启ComfyUI 后生效